
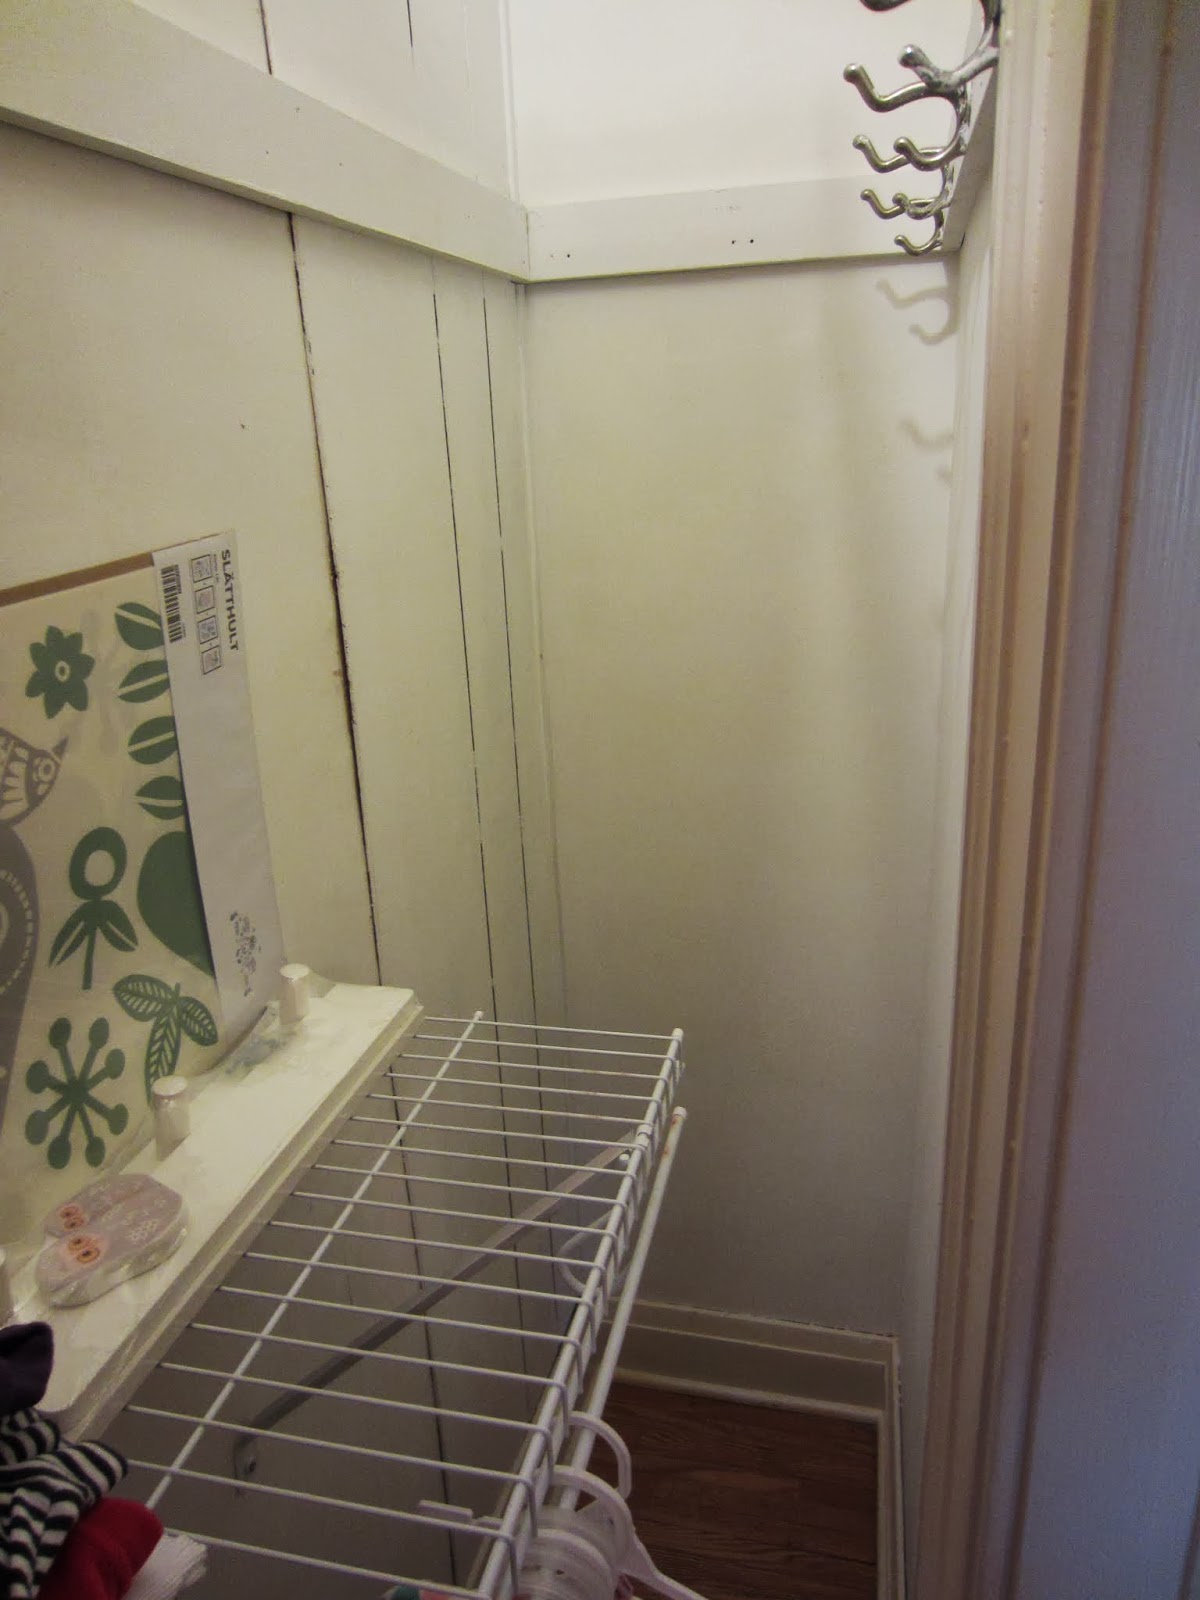
The closet in the nursery was a problem area for us. It has a really weird layout which results in wasted space. It's about 2.5 feet deep and about 6 feet long. That sounds like a lot of space, but when the door frame is about 3 feet wide, it makes for some awkward space.
Originally, the closet just had a metal rod that ran the whole length with a weird particle board type shelf laid on top of the brackets. It was really hard to reach items that would hang on the rod all the way to the left and right inside the closet. It was also awkward to reach stuff on the shelf; plus, the shelf was not secure properly!

(Unfortunately, we didn't take a better before picture than this one and this isn't even our stuff! Before we bought the house, I snapped this picture of the closet from the previous little girl who lived here.)
We threw around several different ideas on how to best utilize the space and finally decided that no matter what we did, there was going to be some wasted space on the sides. So we decided to go with a double shelf that was just a little bigger than the door frame. That way, we could still reach all the clothes.

(Our new 2 shelf system! Steve did an awesome job installing the new racks :)! He got good use out of his hammer drill, as the closet wall shares the backside of the chimney. Look at all those cute baby clothes. I have finally been able to go through all our gifts, launder everything, and organize it the way I want it!)

(We're using the awkward space on the left side to store all the boxes of diapers and wipes we've gotten! Hard to believe that we'll use all those diapers!)
(The right side awkward space is still empty. I have some storage drawers that I may put over there, but they won't be easily accessible. So we'll see what happens over here. Might put something like our suitcases there - haha!)
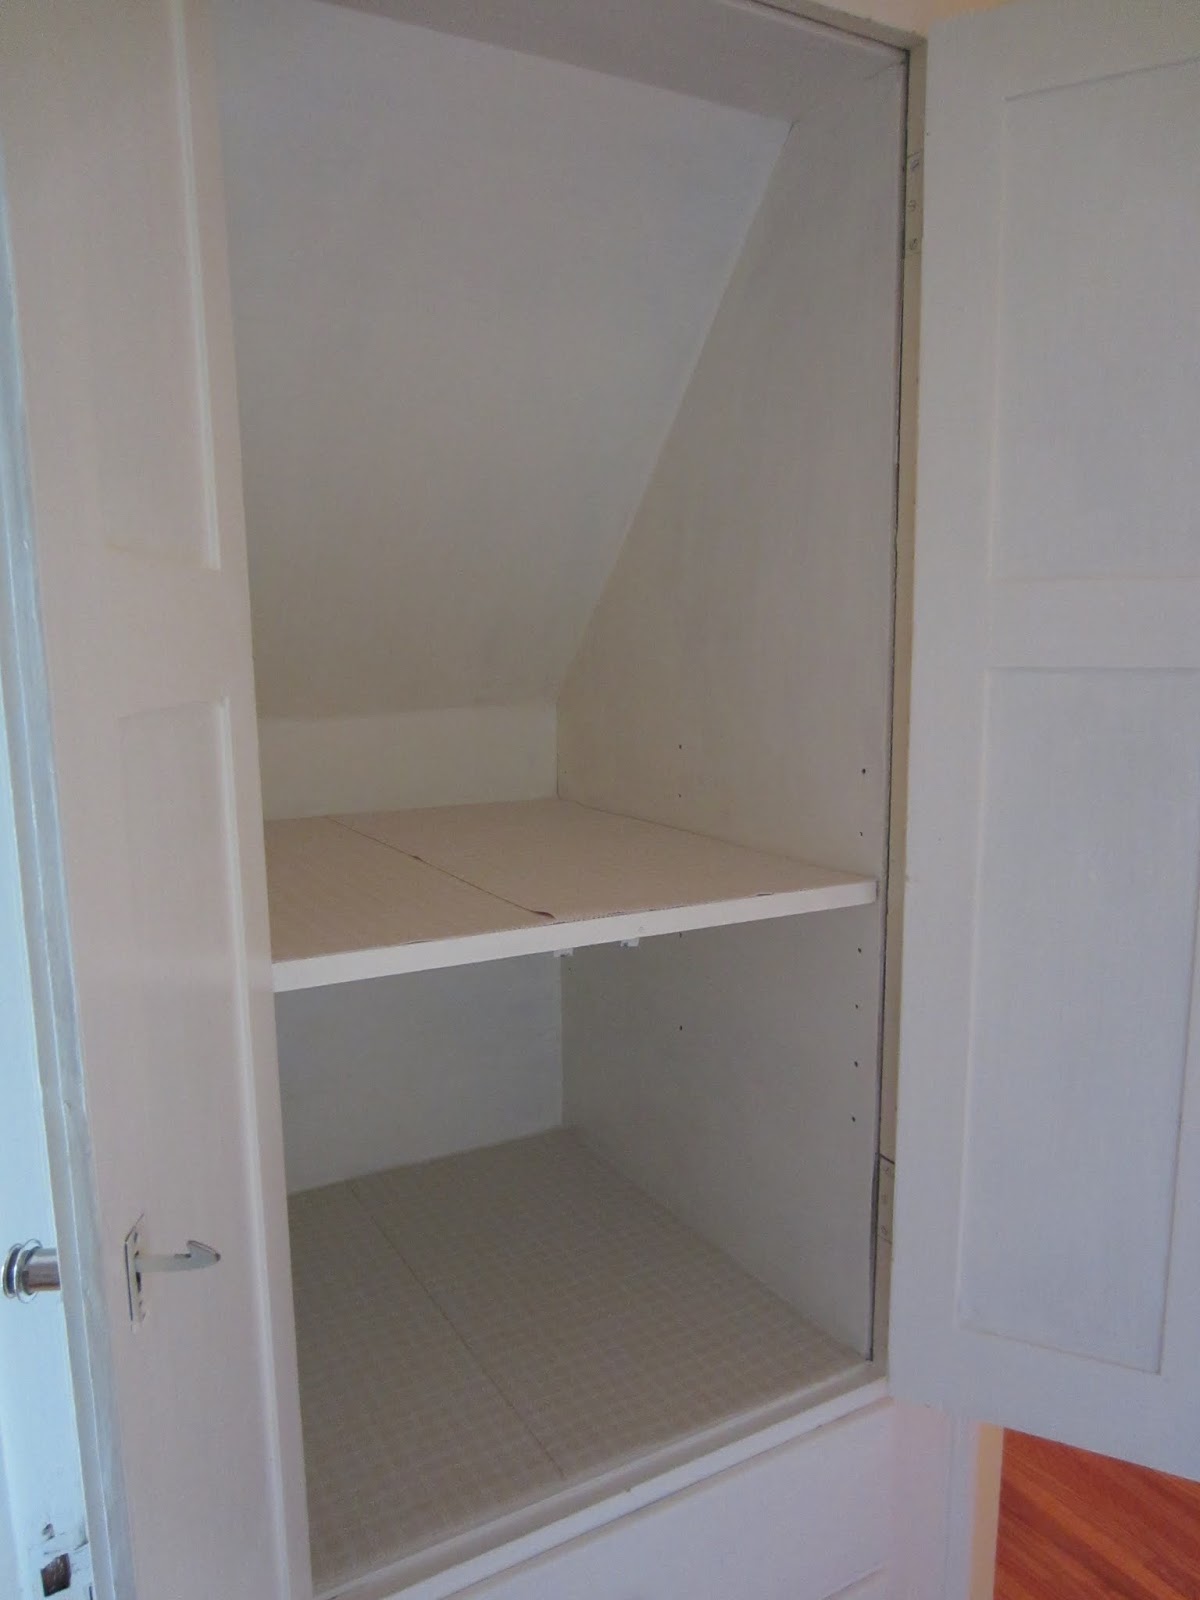
The Cabinet Insert:
This room has a cool built-in cabinet feature that I absolutely love. The first time I saw it, I immediately knew this room would be a nursery and I'd store all sorts of baby items in it. When I was re-doing the room and painting all the trim. I was trying to decide whether or not the cabinet needed repainting on the inside. Upon further inspection, I realized it was painted over contact paper that was peeling. So I decided to take out all the contact paper and repaint it.

(Peeling off all the old painted contact paper -- the lighter part stuff. The actual cabinet was in good condition, just needed some repainting!)

(It's really hard to see, but the inside panels of the cabinet doors had contact paper on them, too. It was a light blue flower pattern that was painted over with the cream color. The contact paper on the doors was probably the hardest area to work on, but I got it all off eventually.)

(Now it just needs paint!)
(Ta-Da! A brand new cabinet built-in! It is now packed with baskets of socks, stacks of bibs, and stacks of pjs. We've opted not to have a separate dresser in her bedroom. I think between the storage in the cabinet insert, built in drawers -- not pictured, under cabinet -- and the new storage in the closet, that a dresser would just be too much. Oh and we have that amazing baby changing table with drawers and cabinet space, too!)
These last few storage places completed the nursery transformation . . . almost! We have some fine tuning and decorative details to add. I'm hoping to get it 100% done in the next week or two. A lot of progress has been made in the past couple weeks and I'm finally feeling more excited for Bean's arrival and less stressed. Although, I'm still pretty stressed over the physical arrival, but who is ever fully ready for that??
No comments:
Post a Comment