Wednesday, August 21, 2013

Kitchen Remodel

Okay, okay, we are NOT remodeling our kitchen. . . yet.  We figured a baby coming into our home in about 6 weeks is enough change and craziness for the fall.  But we are starting to think about some little (and a few) big changes that will update the look in the kitchen.  Thanks to our favorite place -- Menards recently did a FREE cabinet hardware rebate.  We took advantage of the deal and decided to redo the hardware in the kitchen.  It has already made a difference!

Before:

(The current hardware really wasn't in bad condition.  We just felt like it was a little too modern for the overall style of the entire house.)

(Close up o f the hardware.  They were just sleek silver knobs.  Nothing too fancy, just a little too simple for us.)

After:

(New knobs!  What a difference tiny knobs make.)

(Close up of the new knobs -- they are black with a little bit of a "rubbed" silver detail on them.  It just fancies the cabinets up enough to add a classier style into the kitchen.)

(I really like how the black on the knobs contrasts with the white of the appliances.)

Tuesday, August 20, 2013

House Facelift

After much debate (and a lot of prodding on my part), last week we hired some help to paint a couple of the peaks on the outside of our house!  Steve wanted to do it himself, and I know that he could do it, but the height really scared me.  Plus, I knew we didn't have any ladders that would reach that high (our neighbor offered one, but it is a scary ladder that needs to disappear, haha).  We called up a handyman who has done some other little jobs around the house for us (like clean out the gutters).  He didn't have a ladder that could reach, but he knew of a place where he could rent a cherry picker.  For less than $400, our house got a little makeover, and more importantly, Steve didn't have to put time and energy into it!

Before:

(This is the West Peak of the house that faces over our driveway.  You can tell that different areas of the house have been painted and not all of the paint really matches, so it will be nice to finally have all the areas matching.)

(This is the North peak, just above the big fancy glass window in the front.  You can see how bad this area was and how the paint was chipping off.  Before they painted on the new stain, they scraped off all the loose paint chips.)

(Close up of the condition of the paint prior to makeover)


After:

(West peak -- The color of stain that we chose was just a shade lighter than the original paint.  But in the end, it matched all the trim on the "newish" windows!  It makes the house look so much brighter and fresher.)

(Close up of the West Peak.  Apparently, there is a board on the right of that window that was cracked and loose.  The handyman put a few nails in it prior to painting to keep it in place.)

(Front of the house!  It looks tons better.  Now to have the chimney fixed and the slate put back in order in a few areas.  We also have plans to change the front door color again to make it match the roof a little better.)

(Close up of the North peak.  If you look closely, you can see that the boards weren't perfectly sanded, so you can see the old paint texture through the new application.  But from far away you can't tell.  For the price we paid, we're perfectly happy with it.  Our main concern was more about the fact that the wood was exposed.)

Sunday, August 18, 2013

Baby Invasion

As if feeling Bean constantly squirming inside me wasn't enough of a reminder, there are signs all over our house reminding us of her soon arrival!  Since her nursery is located upstairs, there are a lot of baby items that are finding their homes in various locations on our main level.  Some of course will find new homes (like stroller and car seat) while others are finding permanent spots downstairs to keep life simpler for me :).

We are pretty excited about her stroller (Thanks Doug & Trisha!).  It's very versatile and easily collapses for traveling purposes.  It can be used in 3 basic ways, but then each way the seat is used it can be tilted, leg piece extended and the canopy moves around.  Pretty exciting stuff!

(Front facing seat.  Again, the leg portion can bend down or extend out more, and the canopy is down in this photo.  I especial like it's ease of use -- even though it is a little bigger than I expected.)

(The seat easily flips around to Rear Facing.  You can still lay the seat back -- it is fully laid back in this picture -- or tilt it so that the kid sits perfectly upright. )

(And lastly -- her car seat carrier can attach directly to the stroller.  We will most likely use it like this for when we're travelling and have both the car seat and stroller with us.)

(So this little beauty caused me a lot of stress.  We knew the brand and style we wanted thanks to consumer reports and reviews, but there were too many color options!  I literally would go back and forth between 4 different colors daily.  Even in the end, choosing the green one was a big deal.  And now that it's here, I kind of regret not choosing the red one -- which would have matched the stroller.  But, one of my favorite colors is green, so that was the ultimate deciding factor.  Steve just thinks I'm crazy over all the color drama -ha!)

(Pack'N'Play -- Thanks Diana & Mam!  In my current plan, this will get lots of use downstairs.  I thought it will be a nice area to quickly change her diaper, or lay her down for a little nap in the afternoon without having to walk upstairs.  I also have high hopes of her learning to sleep in different areas and with different noise levels to adapt to our crazy lifestyle on the go.  We'll see if my plan works soon enough!)

(Another item I'm pretty stoked about -- Thanks Mom & Dad! When buying baby items, the key is to find things with dual function and this piece is awesome!  The seat detaches from the swing base and can be used as a simple bouncer seat.  The seat even has a vibrating option which is pretty nice!  My plan is for her to be able to rock in it when we're in the living room, or to detach the bouncer and use it when I'm cooking in the kitchen.  Exciting stuff, I know!)

Wednesday, August 14, 2013

8 Months?!

I just did a quick search back through my posts about my pregnancy and realize that they are severely lacking.  Not because I don't want to share, but because nursery, house projects, and travel have seemed to dominate the blog.  Since the end of my pregnancy seems to be rapidly approaching, I guess it's time for an update.

This week marks 32 weeks of pregnancy, meaning I'm in my 8th month -- absolutely crazy!  It's hard to believe we're less than 8 weeks away from meeting our Baby Girl (that is if she comes on time!).  We are still having freak-outs over becoming parents, but we're embracing it a little more, especially now that we have almost everything we need for her.  Having her room finally come together has definitely attributed greatly to our preparedness!  We're waiting on our last big piece of furniture (glider) to arrive by next week and then I have my last baby shower next week.

My pregnancy thus far has been really easy.  I was fortunate to not have morning sickness, just some random nausea and extreme fatigue during 1st trimester.  2nd trimester was a breeze.  I got all my energy back, started feeling little Bean rolling around, and often forgot I was pregnant.  3rd trimester hit and things have gone a little downhill - haha.  Her movements have become more irritating and painful at times.  I get jabbed in the ribs and punches in the bladder quite a bit.  She also will randomly decide to move her entire body rather quickly from one side of tummy to the other side quicky; which results in my stomach shaking and a very weird sensation.  I also have heartburn really bad.  Scratch that.  I have SEVERE heartburn.  Just drinking a glass of water triggers it.  I constantly feel like flames are going to shoot from my throat.

For awhile I would just pop Tums like candy.  Then I tried Prilosec and it worked fairly well, but then I read online that it could be questionable for pregnancy (even though my doctor said it was okay).  I then switched to Zantac 75, which helps for about 4 hours after taking the pill.  When you can only take 2 in 24 hours, that leaves 16 hours of heartburn!  And I feel every hour of it, even in the middle of the night.  So I'm giving back in and going back to Prilosec.  Food and nourishment with the risk from Prilosec for Bean is winning over not eating and having the heartburn.

Only other thing that is new in the 3rd trimester is lots of backaches and leg aches.  If I'm up on my feet too long, I can feel them swell which causes them to ache.  I try to take rests and keep them elevated, but there's still so much to do!  For now, I am just "treading water" in upkeeing house work and trying to get little projects done here and there.  Lucky for me, a lot of what is left to get done doesn't require lots of standing. I still get up several times at night to pee and toss and turn a lot to get comfortable.  I've discovered if I take a shower before going to bed, I tend to sleep a little better.

Doctor appointments have been going well and really fast!  It seems like I just pop in the office for them to hear the heartbeat and make sure I'm doing well.  The last time I went, they measured my tummy, but never said anything about it.  I know I haven't gained a ton of weight (maybe around 25 pounds? My goal is 30) and everyone says I look smaller than 8 months.  Here's hoping to a small baby!  My next appointment is around the corner, then I go in 2 weeks, then weekly after that!  Ahhh!

I had to have a Rhogam shot (right in the rear) at 28 weeks because Steve and I have incompatible blood.  His is positive and mine is negative.  If baby's blood is positive, my body can build up antibodies which will cause problems with future pregnancies.  I'll have to have another shot right after baby's birth.

Another thing we can check off the "Before Baby list" is our birth class!  We didn't know what to expect and were sort of dreading it the closer it got to the class.  But we are really glad we followed through!  It was just a one night class (with pizza!) that involved several videos, question/answer discussions, and a tour of the hospital.  We're still not 100% clear on where to check in at (but our doctor will let us know) but we feel comfortable with the hospital stay side of things.

I've kept up with taken my weekly pregnancy photos.  Instead of posting every week's picture, here is one from the past 3 months, catching you up on the bump growth:

(June -- 22 weeks)

(July -- 27 weeks - really starting to pop out!)

(August -- 32 weeks - whoa baby!  Sometimes I don't feel like I look this big, then there are times I feel like I'm bigger - haha!  And look at how tired I am.  I took several shots and my face was the same in each one.  Some things you just can't hide!)

Tuesday, August 13, 2013

Nursery Storage

The Closet:

The closet in the nursery was a problem area for us.  It has a really weird layout which results in wasted space.  It's about 2.5 feet deep and about 6 feet long.  That sounds like a lot of space, but when the door frame is about 3 feet wide, it makes for some awkward space.

Originally, the closet just had a metal rod that ran the whole length with a weird particle board type shelf laid on top of the brackets.  It was really hard to reach items that would hang on the rod all the way to the left and right inside the closet.  It was also awkward to reach stuff on the shelf; plus, the shelf was not secure properly!

(Unfortunately, we didn't take a better before picture than this one and this isn't even our stuff!  Before we bought the house, I snapped this picture of the closet from the previous little girl who lived here.)

We threw around several different ideas on how to best utilize the space and finally decided that no matter what we did, there was going to be some wasted space on the sides.  So we decided to go with a double shelf that was just a little bigger than the door frame.  That way, we could still reach all the clothes.

(Our new 2 shelf system!  Steve did an awesome job installing the new racks :)!  He got good use out of his hammer drill, as the closet wall shares the backside of the chimney.  Look at all those cute baby clothes.  I have finally been able to go through all our gifts, launder everything, and organize it the way I want it!)

(We're using the awkward space on the left side to store all the boxes of diapers and wipes we've gotten!  Hard to believe that we'll use all those diapers!)

(The right side awkward space is still empty.  I have some storage drawers that I may put over there, but they won't be easily accessible. So we'll see what happens over here.  Might put something like our suitcases there - haha!)

The Cabinet Insert:

This room has a cool built-in cabinet feature that I absolutely love.  The first time I saw it, I immediately knew this room would be a nursery and I'd store all sorts of baby items in it.  When I was re-doing the room and painting all the trim.  I was trying to decide whether or not the cabinet needed repainting on the inside.  Upon further inspection, I realized it was painted over contact paper that was peeling.  So I decided to take out all the contact paper and repaint it.

(Peeling off all the old painted contact paper -- the lighter part stuff.  The actual cabinet was in good condition, just needed some repainting!)

(It's really hard to see, but the inside panels of the cabinet doors had contact paper on them, too.  It was a light blue flower pattern that was painted over with the cream color.  The contact paper on the doors was probably the hardest area to work on, but I got it all off eventually.)

(Now it just needs paint!) 

(Ta-Da!  A brand new cabinet built-in!  It is now packed with baskets of socks, stacks of bibs, and stacks of pjs. We've opted not to have a separate dresser in her bedroom.  I think between the storage in the cabinet insert, built in drawers -- not pictured, under cabinet -- and the new storage in the closet, that a dresser would just be too much.  Oh and we have that amazing baby changing table with drawers and cabinet space, too!)


These last few storage places completed the nursery transformation . . . almost!  We have some fine tuning and decorative details to add.  I'm hoping to get it 100% done in the next week or two.  A lot of progress has been made in the past couple weeks and I'm finally feeling more excited for Bean's arrival and less stressed.  Although, I'm still pretty stressed over the physical arrival, but who is ever fully ready for that??

Saturday, August 10, 2013

Changing Table Re-Do

I thought my sister was crazy when she said, "Let's re-do the baby changing table!  I'll strip the finish off for you in no-time!"  Okay, I knew my sister was crazy way before that statement, but I didn't think she could strip the finish off in 2 days.  Plus, I wasn't sure if I was willing to take on such a big undertaking this late in the pregnancy.  But boy am I ecstatic at the "new" changing table!  Definitely worth all the effort and money!

For about $50 and a week's worth of hard work (and help!), we have what looks like a brand new white changing table for Bean!  The changing table was originally purchased back in 2003 for around $400 for my sister before her oldest daughter was born.  She used that changing table for all 3 of her girls meaning the piece was well used and loved.  Last fall, they went through all their baby items and decided it was time to get rid of them all, meaning Steve and I got dibs on what we wanted.  I immediately said yes to the table, but didn't really confirm that with Steve -- oops :-).

Boy was he surprised when that beast showed up.  It's built of solid oak and is very sturdy (which really translates into heavy!).  My brother-in-law and Steve had to carry it up to our second level which secured its place in our home.  There was no way it was ever going to come back down in 1 usable piece (unless a professional mover is doing it!).  That piece of furniture quickly became a "source of contention" between us - haha.  It wasn't necessarily a sentimental thing, but more for the fact that we got a very usable and sturdy piece of furniture for free.  Steve on the other hand didn't like its finish (even though it matched the wood floor) and just saw it as a bulky eye sore.

Once we started pulling the nursery together, we decided to go with white furniture to not over-shadow the wood floor.  However, it was too late to try to re-do the changing table since I had other things going on like wallpaper removal, painting, oh yeah, and being pregnant!  I had accepted that the changing table would remain as it was and we'd just make it work in the room.  Steve was still hoping he could take a sledgehammer to it and make it go away.

I never even thought about a chemical stripper to take the finish off (since there was no way I was going to sand off the finish in that room.  I remember the previous sanding catastrophe that happened in the nursery and didn't want another.  After getting advice about using a chemical stripper from others and my sister's willingness to get the job done, there was no turning back on the project!

We bought our supplies for the project -- chemical stripper, mineral spirits, tarp, sand paper, & masks--headed back home, and Amber quickly went to work.  You were supposed to paint a layer of the chemical on, let it sit 30 minutes, then scrape off the finish.  In theory, Amber was going to come play dolls with me and the girls (since I wasn't allowed to mess with the chemical, I was on niece duty) while the chemical set; however, she soon realized that you didn't really need to wait the full 30 minutes.  So she just set to work on painting and scraping continuously.  I wish we had kept better track of how many hours it took her to get the job done, but by the next evening, all the pieces were in their raw state!

After stripping the finish, she had to wipe it all down with the mineral spirits, then do a light sanding to get stubborn varnish spots off, and then washed it with soap and water.  When she left, all I had to do was paint it white & put a clear coat on it -- easy enough!  It took me a couple days of painting it all white, and then another couple days for the clear coat.  Steve helped out with the clear coat as well so that I wasn't over-exposed to chemicals -- thanks Steve!

To finish it all up, I used Valspar Ultra paint & primer in 1.  It has No VOC (volatile organic compounds) and no odor!  I was skeptical of the no odor part, but seriously there is none!  If you have color added, there's a little bit of smell, but since I used it as straight white, no fumes!.  After applying 3-4 coats and achieving the look I wanted, we used MinWax ploycrylic semi-gloss to seal it all in.  The polycrylic needed about 3 coats, but you were able to apply coats 2 hours apart - not too bad!

Now we have a piece that matches the nursery beautifully and no longer is a "source of contention".  Okay, maybe it is still a little bulky and Steve isn't as in love with it as I am, but we both agree it goes very well in Bean's room now.  I'll take that compromise!  Only problem for Steve is now there's no way we're getting rid of it after all of Amber's hard work :-). Thanks sister!  We love it :)

(Changing Table before)

(I really had never thought about seriously repainting it, because I felt that taking the varnish off would "ruin" such a "nice" piece of furniture.  But upon closer inspection, I realized this table had been well used and had lots of marks and stains on it.  After discussing with sister about her feelings on the piece, it was a no-brainer to re-paint it the way we wanted -- especially with the help!)

(She was smiling at this point because she still thought it'd be a quick process.  It went quicker than I thought it would, but it required lots of attention and time from her that I don't think she had thought about - haha!)

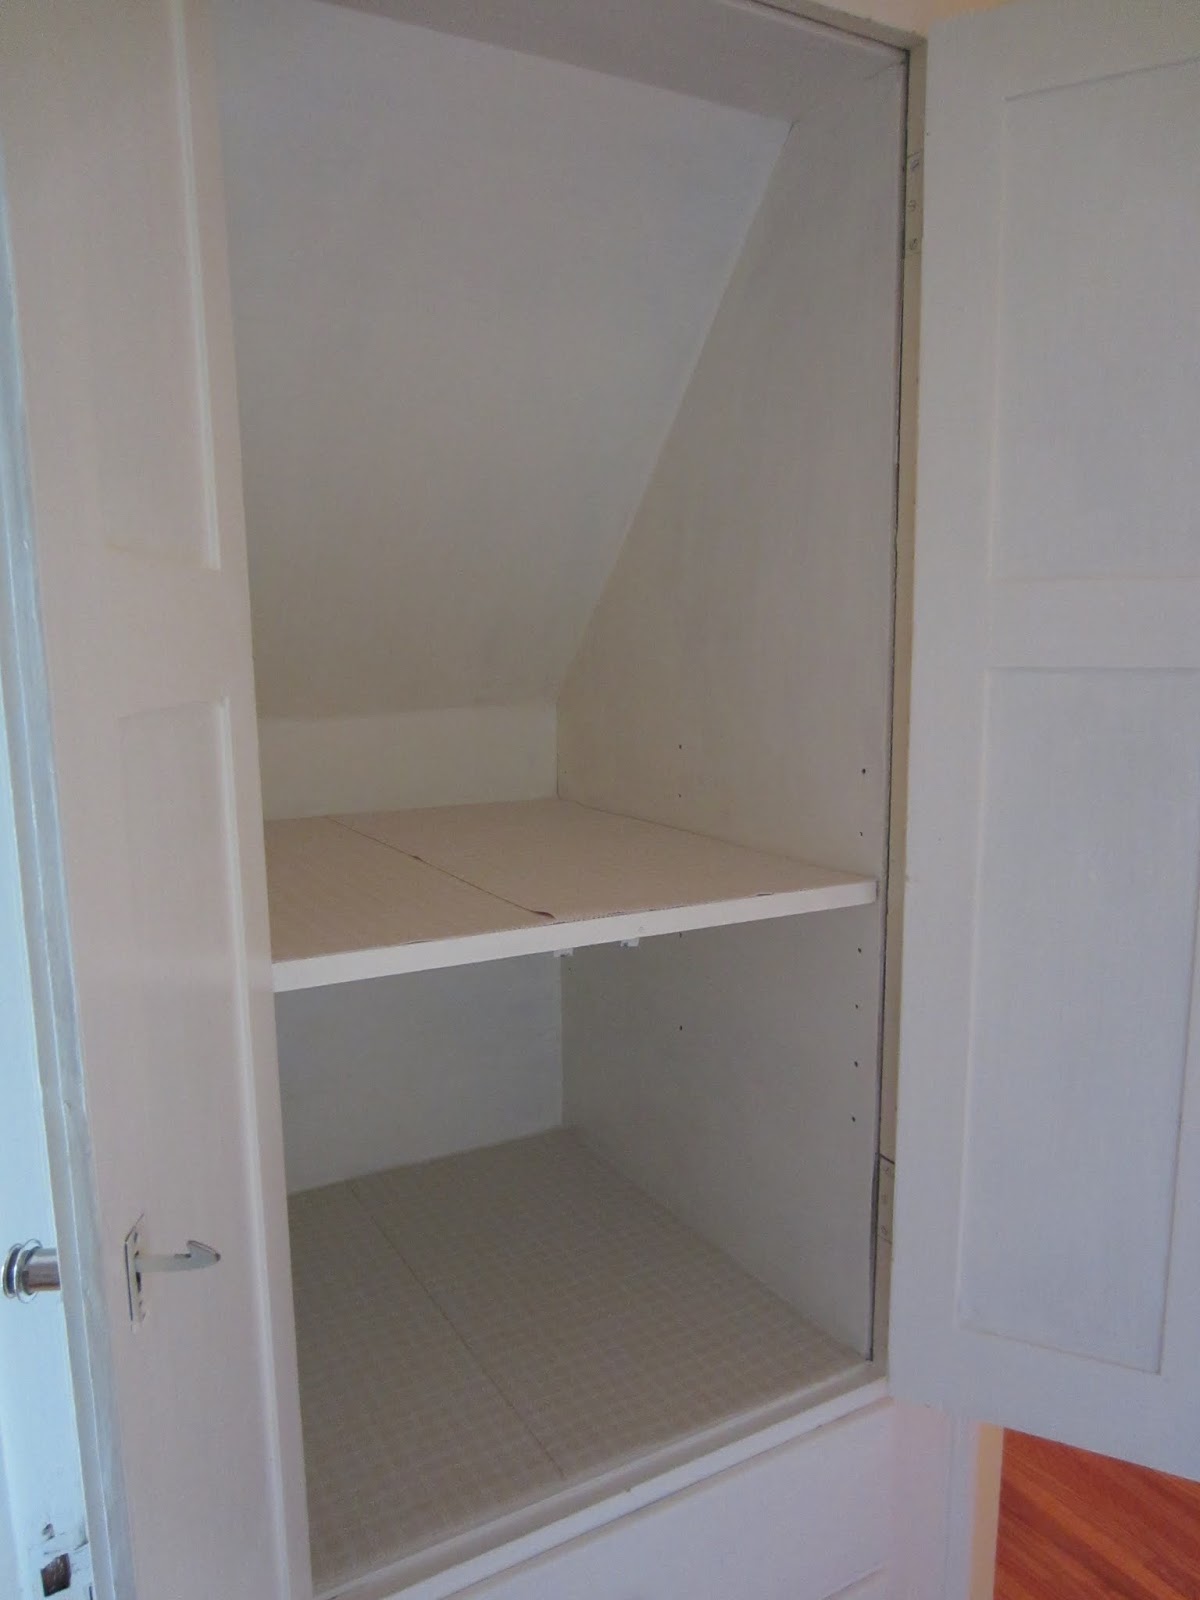
(All the varnish stripped off!  I deemed the inside not important to worry about.  I ended up buying shelf liner and put it on the inside to cover up the stains on the shelves -- easy peasy!)

(The doors had this flower detail on them which made them "country-ish" in Steve's words.  I could take or leave the design, but since we were doing an over-haul, now was the time to address the issue.)

(I got a wood filler and covered up the design.  After it dried, I sanded it to make it smooth.  I probably should have done this a couple times to assure the design was completely covered, but I was ready to move onto painting.  When you look closely at the doors now, you can see the outline of the design, but from a distance it isn't noticeable so I'm happy.)

(Our "brand new" changing table!  I feel like it looks like a completely different piece of furniture now!  It matches the crib beautifully!  Notice how you can no longer see the design on the doors.  We will probably change out the knobs, too; just haven't gotten to that yet.)

(Another view!  Originally, we put the changing table in this corner so that it was hidden and not a focal point in the room, but after discussing it, we've changed the layout.  Now it sits across from the crib, and we'll put the rocking chair in the corner.  This was Steve's suggestion so that we can look out the window while rocking Bean. We're waiting on our glider to arrive to finalize the layout, then we'll post pictures of the finished nursery -- can't wait!)

Better look at how painting the changing table white really changes the room:

(Before)

(After)

Amazing how just changing its color really updated the piece and changes the whole room.  Love it!

Friday, August 9, 2013

Year 4

We made it another year!  Yesterday marked our 4th wedding anniversary.  Seriously, where has the time gone?!

I say this every year, but the past year was by far the best. During our 4th year of marriage we traveled to Indiana several times; spent some time in Cincinnati; spent a week with family at Disney World; visited with friends Tennessee; cruised Nassau, St. Thomas & St. Martin; and spent a long weekend New Jersey.  We've completed several more projects around the house including 2 more room transformations.  We lost a baby with a miscarriage and are currently anticipating the birth of our Baby Girl!  God has been good to us yet again :).  We are beyond blessed.

I think back to when Steve and I met almost 7 years ago and how never in a million years did I ever think we would date yet alone get married (and if you ask Steve, he doesn't think we met until 6 years ago - haha).  I always thought Steve was way too cool for me, and the truth is, he is way too amazing for me!  I'm sorry ladies, but I must say, I have married the most amazing man and have the best husband around.  Watching him grow from a college student to husband to spiritual leader of our family brings tears to my eyes.

And now, I get to watch him become a father.  Things are becoming more real around our home that a baby is quickly approaching.  Our living room is now littered with baby clothes, toys, and baby furniture.  We still have our freak outs over the fact that we're about to become parents -- how can that be real?!  All I know, is that with Steve by my side, we can take on anything -- bring it on Baby Bean!

I am madly in love with Steve and look forward to the experiences, changes, and adventures year 5 has in store.  Love you Steve!

(Every year, I try to make sure we take a picture on our anniversary.  I love looking back through all the pictures and seeing how they change.  Check out pictures from the beginning through year 2 & picture from year 3. I absolutely love the fact that Steve is wearing the same shirt he did in our year 2 picture -- haha!)

After spending our 3rd anniversary in Belgium, we knew we couldn't top that with year 4 so we didn't even try.  Ha ha, okay that's not why this year was low-key.  We had debated on going away for the weekend, but with Bean quickly approaching, our time is better used at home on the weekends so we can prepare for her.  We celebrated by going out to dinner.  We went all out with a 4-course meal thanks to Red Lobster's awesome deal right now.  When we got home, we pulled the trigger on our last big baby items which should arrive next week.  I know, Ackermans getting crazy!

(We couldn't leave Bean out of the anniversary celebration!  It's so bizarre to think that this was our last anniversary of just being husband and wife.  In just a couple more months, our titles will change to Mom & Dad -- yikes!)

Wednesday, August 7, 2013

Lots of Work & Lots of Play

Last week, my sister and nieces came to visit for a few days.  The girls of course brought all their American Girl dolls and items and transformed our living room into American-Girl-Palooza (sad thing is up until Christmas, my collection was bigger than theirs -haha).

During their visit, Amber (my sister) wanted to help out with the baby's room.  I gave her options of 3 different projects in varying degrees of difficulty.  She decided that the hardest project was up her alley.  So while I played with the girls, she went to work stripping the varnish off or the baby changing table she donated to us. (I'm guessing she regretted ever offering to give us that changer - ha!).

The project itself wasn't that bad, but she had a time constraint of a day and a half to get it completed.  Because the changing table is so big & heavy, it wasn't possible to take it downstairs/outside to sand off the finish.  Instead, she used a chemical stripper that worked very well, but was very potent (which is why she chose this project to do, so that I could have the changing table I wanted but couldn't do myself).  I felt bad that I just got to play with her kids all day while she worked, but I'm guessing she didn't mind to much.  She worked up until the time they had to leave and was able to get the varnish off of everything!

(Amber was smiling at this point because she hadn't begun yet.  She had to paint the chemical on, let it set a little bit, then she had to take a scraper and scrape all the varnish off.  It came off pretty easy in some parts, but some areas required a little more arm strength and several coats of the chemical.)

We did manage to pack our time with more than just dolls and varnish stripping.  We fulfilled the little girls' wish of school shopping as well as playing a couple different board games - Clue & Life.  We all played Life together (Steve opted out - haha).  Clue on the other hand was just me and the girls while Amber worked.  While playing Clue, I thought I had it all figured out, made my prediction which ended up being wrong!  Both girls had lied to me about not having evidence that they definitely had.  Haha, oh well.  It's just a game right?

And last but not least, one day we pulled out the slip'n'slide!  Every year, it gets used at least once (we're actually on our 2nd slip'n'slide) and it usually ends up with someone breaking the rules of play and sitting out while the others play. However, this time, all 3 girls played on it together correctly!  I was impressed by their imagination when they went from just sliding on it, to pretending they were in a surfing competition.  While they played, I worked on trimming some bushes while Amber continued to strip the finish on the drawers & doors.

(Amber still working on stripping the finish - haha!)

(The girls all playing together on the slip'n'slide.  I thought it was too cold outside to play on it, but they loved it.  Although, little Gabbie got cold after about 20 minutes and sat and watched mommy work while huddled under a towel.)

(Racing on the slip'n'slide!  This slide was definitely worth the extra $10 for 2 lanes & "boogie boards".  Our first slip'n'slide was just a single lane and lasted us 2 years in TN.  I didn't take care of it well and decided it wasn't worth taking in the move.  So we upgraded to this beauty last summer.  Well worth it!)

We had a great time and look forward to their next visit!  And a big THANK YOU to Amber for all her hard work.  She left the dresser in a raw state, leaving me to paint it all white.  You know I love to paint and didn't mind the task left before me :).

Tuesday, August 6, 2013

Nursery Update

I started working on transforming an extra room into a nursery back in December.  I can finally say I think we're on the homestretch!  In case you aren't up-to-date on the nursery drama, here's the run-down.  What was supposed to be a simple paint-the-room-white in preparation for a baby turned into 3 layers of wallpaper removal, patching a bazillion holes around the room thanks to help, the entire room being primed, and finally putting color on the wall!

We chose to go with a neutral color (yellow) on the wall, even though we waited to pick paint colors until after we knew we were having a girl.  We waited so that we could pick a bedding set/theme and match the color to go with the bedding.  As soon as we found out we were having a girl, we both agreed right away that the theme was going to be birds, but we differed greatly on the bedding decor that we wanted to go with.  After much debate, hours spent rating options on a spreadsheet, and an amazing Craigslist find, we got an excellent deal on a Pottery Barn set that we both agreed on.

We're still working with the layout of furniture (plus, we still need to get a glider/ottoman).  Once we are settled with how the furniture is going to be set-up, we'll then hang up all the different bird artwork that we have collected for Bean.  I also have a special little mural planned, but again, can't put it up until we know the placement of all the furniture.

Here are some pictures of how the room stands as of now:

(The window is behind me looking towards the hallway.  If we keep the furniture in this format, the glider/ottoman will be right where I'm standing.  I may switch the crib & changing table.  Not sure yet.  Decisions. . . Decisions. . . )

(View from the doorway into the nursery.  I found an amazing bird fabric that matched the birds from the mobile perfectly.  I debated on making a valance from the fabric for a window (which is why there's fabric draped up there), but I think we decided the birds on the fabric was too busy and I'll go find something more plain.  I'll probably make a pillow or something like that with the bird fabric-- oh and did I mention I got just under a yard of the fabric for less than $3?!)

(My amazing husband took down the boring white ceiling fan and put up this beautiful chandelier & ceiling medallion.  I had seen some chandeliers in nurseries on pinterest and thought it was a neat idea, but Steve suggested it to me before I could show him some options!  Baby girl is already being spoiled like a princess by her daddy and she isn't even here yet!)

(Pottery Barn decor & our lovely crib.  We got an amazing deal on both things -- bedding from Craigslist & crib from BabysRUs.)

(Close-up of the bird mobile, birds on the crib sheet & decorative quilt.  I'll share a little trick I discovered online about how to set up a crib mattress.  I have a waterproof mattress cover over the mattress with a crib sheet on top of it.  Then I put on ANOTHER waterproof mattress cover with a crib sheet on top of that.  I did this so that when Bean pees the bed in the middle of the night, I just take off the top two layers and she's ready to go back in her crib!)
 
I'm so excited to finally have all the tools and clutter cleared out of her room.  Finally, I can start sorting through all the baby gifts that are cluttering our dining room and put them where they belong in her room!  While I finished up working on setting the crib up and redoing the changing table, Steve re-did the closet.  Posts about those other projects to come soon!